I love my IDE. I love my mac. And I love (some of) my customers. But once in a while we must part, because you need a frigging vacation. So to make sure I’ll be walking around carrying a coconut and not a laptop, I’ve created a 100% cloudy development environment. So in case any project demanded my immediate attention, I’m only a browser away from a fully functional and fully virtual work station, from which I can code, test and deploy.
Luckily, AWS Cloud9 offers exactly that, and completely free! To tame it to my needs I will require to following -
- Web based IDE with typescript support
- Terminal access with node, npm, Angular CLI and git
- Live preview with console
- Github connection
So let’s start by signing in to your AWS Console -
Not yet registered? Easily create a new AWS Account. You’ll need a credit card, but don’t worry — no charges are made as long as you stay on the free tier, which this tutorial will refer to.
Setting Up a New Environment
Once logged in go into the AWS Cloud9 Console, and you should see something similar to this -

Click “Create environment” and give it a name and a description -

On the next step you’ll have to chose between an AWS machine (Called EC2) as your environment, or an external server to communicate with over SSH:

If you don’t want your development machine to be EC2, I highly recommend DigitalOcean as your cloud based environment. But in this article I want to keep things as tight as possible, so we’ll stick with the AWS solution.
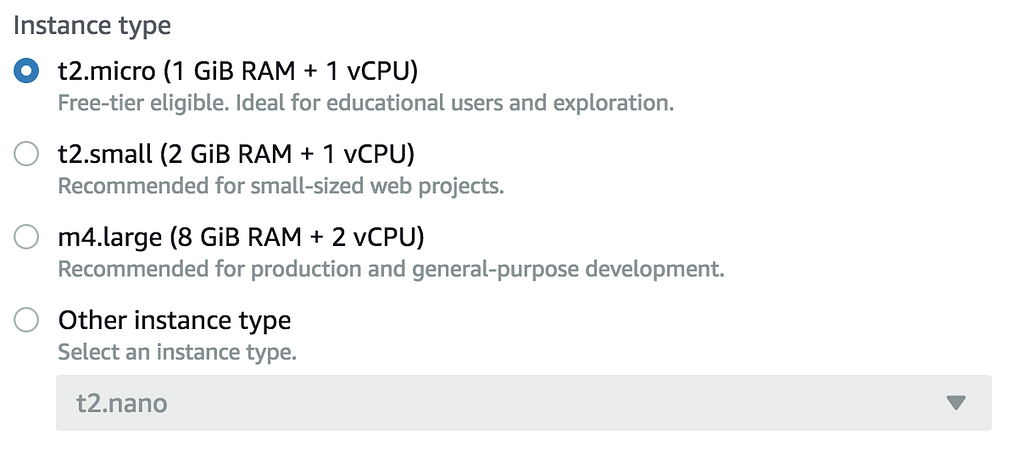
Next you be asked for the instance type. You can stick with the micro for now, and you can always resize your EC2 in the future.
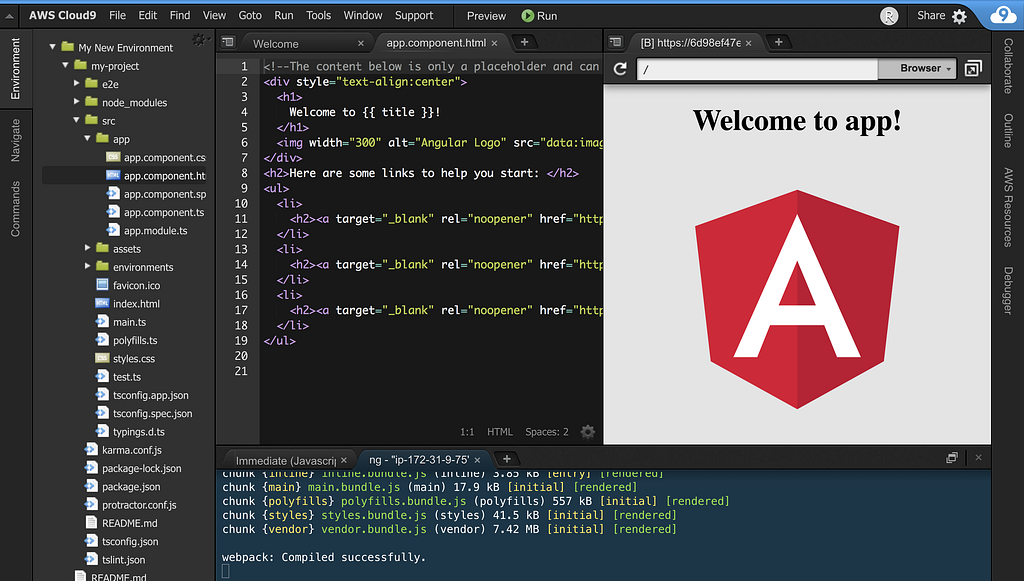
Click “Next”, review your environment and hit “Create”. Once Amazon finishes doing its magic, you’ll be redirected to this page -

Welcome to your new environment. Check out this tutorial for a more comprehensive introduction to the environment. I’ll jump right in by -
Installing Node.js
I’ll use the Amazon recommended installation with nvm -
sudo yum -y update
curl -o- https://raw.githubusercontent.com/creationix/nvm/v0.33.0/install.sh | bash
. ~/.bashrc
nvm install lts/carbon
nvm alias default lts/carbon
Close and reopen the terminal window and run node -v to make sure your using 8.x.x.
Installing Angular CLI
Next, bestow the power of angular on to your brand new machine -
npm install -g @angular/cli
Now you can use angular CLI to create a new project -
ng new my-project
Preview
Go into the project folder and run this command
ng serve --host 0.0.0.0 --port 8080 --disableHostCheck
This will initiate a live-reload preview of your work. See it in action by clicking the “Preview” button -
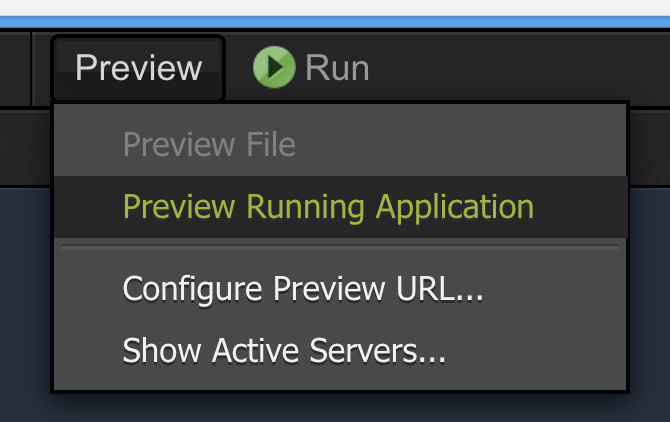
Cool right?
But in most cases creating a new project is not the reason we created the environment. More likely we want to continue working on our existing project, and that is a great excuse to
Connecting to GitHub
Git is already installed on your machine (verify with git --version) so let’s start by setting the global user and email -
git config --global user.name "Your Name"
git config --global user.email you@example.com
You can always use your GitHub user/pass to clone or to push. But who wants to worry about these things while they’re on vacation? So lets connect to GitHub with SSH.
First generate a new SSH key in your cloud machine (enter for defaults) -
ssh-keygen -t rsa -b 4096 -C "your_email@example.com"
Show and copy the generated key by typing
cat ~/.ssh/id_rsa.pub
Add the new key to your GitHub account by pasting it in a new key as described here, and shown here:
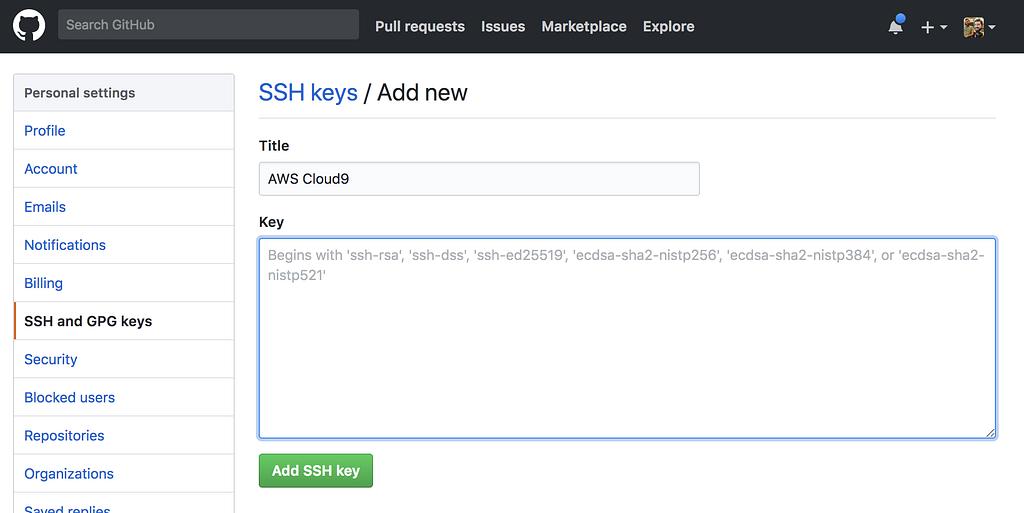
And you’re done! all communication from your machine to GitHub will be user/pass free. Just make sure to use the SSH urls for your repositories, and not HTTPS.
Now clone your existing angular project
git clone git@github.com:IdanCo/MyAwesomeProject.git
Enter the project folder, do npm install then you can implement the Preview technique described above.
Summing Up
What’s to sum? Your awesome development environment is all ready for your not less awesome vacation. Go pack and rest assured that all you need is a smartphone with an internet connection and you’re ready to code, test and deploy!