My team is migrating our backend to Firebase. One of the challenges we faced in the process was finding an efficient method of sharing resources (such as types, classes, and utility functions) between our frontend Angular application, and our backend Firebase Cloud Functions project. We had two major requirements:
- Minimal intervention with both Angular AND Firebase architectures. These two frameworks are quite opinionated, so we prefer aligning to them rather than bending them to our needs (too much).
- Developer-friendly workspace. Including a local server emulating Firebase’s cloud environment, automatically rebuilt on every change.
Meeting these demands was harder than I anticipated, so I’m sharing our recipe in the hope it may help you too.
Check out a complete demo of the project:
IdanCo/sharing-types-angular-firebase
Disclaimer: The following recipe is the result of an ongoing project, and we’re constantly tweaking and improving the ingredients. I’ll try keeping this article updated with all the latest discoveries, and please feel free to share your experience and expertise in the comments bellow.
Create a Workspace
First and foremost, it’s going to be a monorepo. It’s obviously a complex decision, but what tipped the scale in our case was the simplicity of a monorepo, rather than the complexity of a multirepo project.
We all know good ol’ ng new, which is great most of the time. But since this repo will have to cater to at least three projects (Angular app| Cloud-Functions | Shared library), it’s better to use one of AngularCLI's lesser-known constructs — a multi-project workspace. start by creating an EMPTY workspace:
ng new my-workspace --create-application false
Now step into the newly created workspace (or open it with your favorite IDE) and add our first project, the Angular app:
cd my-workspace
ng generate application my-first-app
Follow the CLI wizard as you see fit. When it finishes, you’ll notice there is now a folder called projects inside your workspace, and inside it, another folder named my-first-app, the content of which should be familiar to you from every other basic Angular project. In fact, you can easily continue with many of the habits you had before (ng serve, ng build, etc.).
Create a Shared Library
For our next step, some of you might now be tempted to create a new Angular library using ng generate library my-lib. You should resist that urge. An Angular library comes with all sorts of… well, Angular. This is great if you want to share Angular components or services, but is obviously useless for Cloud Functions, so we’ll have to go another way.
Start by creating a new library in you projects folder:
cd projects
mkdir my-lib
cd my-lib
Inside the new library create a file called index.ts and add this content:
export function foo() {
  return 'bar';
}
Also, create a new file called tsconfig.json with this content:
{
  "compilerOptions": {
    "target": "es5",
    "module": "commonjs",
    "declaration": true,
    "declarationMap": true,
    "sourceMap": true,
    "outDir": "../../dist/my-lib",
    "resolveJsonModule": true,
    "strict": true,
    "esModuleInterop": true,
    "skipLibCheck": true,
    "forceConsistentCasingInFileNames": true
  },
  "include": [
    "**/*.ts",
    "./package.json"
  ]
}
Last but not least, still inside the library folder, let's create a minimalisticpackage.json file like this:
{
  "name": "my-lib",
  "version": "0.0.1"
}
Now edit the root package.json, and add this script:
"scripts": {
  ... // existing angular scripts
  "build:my-lib": "cd projects/my-lib && tsc"
},
And run the new script with this command from the workspace’s root:
npm run build:my-lib
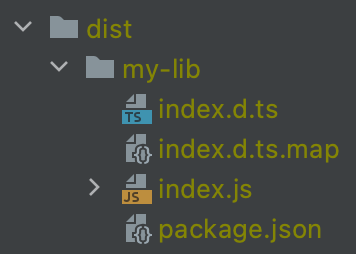
If everything worked well you should see a compiled version of your library inside /dist/my-lib, which hopefully looks something like this:
Congratulations — you’ve just created your project’s new library! 🎉 Now let’s start using it.
Adding the Library to the Angular App
For the Angular app to know the new library exists, we need to announce it via the root tsconfig.json. Open it file and add these lines:
"compilerOptions": {
  ... // existing settings
  "paths": {
    "my-lib": [
      "dist/my-lib"
    ]
  }
},
Now we can safely use it in our code. Open projects/my-first-app/src/app/app.component.ts and replace its content with this:
import { Component, OnInit } from '@angular/core';
import { foo } from 'my-lib'; // Make sure your IDE can autocomplete this import, otherwise you might end up with relative imports (../../../yada/yada) which will cause plenty of problems down the road.

@Component({
  selector: 'app-root',
  templateUrl: './app.component.html',
  styleUrls: ['./app.component.scss']
})
export class AppComponent implements OnInit {
  title = 'my-first-app';

  ngOnInit() {
    const value = foo();
    console.info(value);
  }
}
Type ng serve , head over to http://localhost:4200 and confirm your console is showing something like this:

🥳 Hooray! you just finished implementing your shared library in your Angular app. Let’s continue.
Initiate a Firebase Project
Assuming you already created a Firebase project, installed Firebase CLI, and logged into your account - make sure you’re in the workspace’s root, and run this command:
firebase init
Follow the instruction in the initialization wizard. For demo purposes, choose the following options
- Choose Functions from the features list.
- Choose your appropriate firebase project.
- Choose Typescript.
- Do not use ESLint. Co-exisiting with Angular’s liniting deserves a separate article.
- Install dependencies.
🔥 Done! Firebase is now initialized in your workspace. But if you’re an OCD freak like me, having this newly created functions folder outside the projects folder is an abomination. Let’s fix it. Move the entire functions folder into the projects folder, so you’ll end up with something like this:

It’s important to let Firebase know about the new location, so open up firebase.json in your workspace’s root and add the source property:
{
  "functions": {
    ...exiting code...
    "source": "projects/functions"
  }
}
Simple right? Don’t get used to it. Now we’ll add the library to the Firebase project, which is the hardest part. Take a deep breath, let's dive in.
Adding the Library to Firebase Cloud Functions
The biggest challenge about sharing resources with Firebase Cloud Functions is that Firebase refuses to deploy anything OUTSIDE the functions folder. So our goal is to somehow transfer the library INTO the functions folder, without harming the existing dependency in the Angular app, nor our beautiful folder structure. Luckily, Angular is agnostic to where its dependencies are, so the simplest solution is to build the library into the functions folder.
So let’s edit projects/my-lib/tsconfig.json once more, and change the destination folder:
// before:
// "outDir": "../../dist/my-lib",
// after:
"outDir": "../functions/dist/my-lib"
Next, we need to tell the workspace the library's location has changed. Open the workspace’s root tsconfig.json and change the path:
"paths": {
  "my-lib": [
    "projects/functions/dist/my-lib"
  ]
}
This should ensure previous dependencies are working. Just to make sure we didn’t create any regressions, go back to the workspace’s root and run npm run build:my-lib, then run ng serve again and confirm the bar is still printed to the console. Everything is Okie Dokie? Let’s continue.
Notice our functions folder comes with its own tsconfig.json file. So we should let it know about the resource as well. Edit projects/functions/tsconfig.json and add these lines inside compilerOptions:
"compilerOptions": {
  ... // existing settings
"baseUrl": "./",
"paths": {
"my-lib": [
"dist/my-lib"// the relative path to our generated library
]
}
},
But unlike our Angular app, this is not enough for making the library consumable by the Cloud Functions project. Because of Firebase deployment limitations (I’ll be glad if someone could explain it to me), resources should be explicitly added to the package.json. So open projects/functions/package.json and add this dependency:
"dependencies": {
  ...
  "my-lib": "file:dist/my-lib"
},
And finish off with an npm install inside the functions folder. This tells npm to create a symlink between functions/dist/my-lib and functions/node_modules/my-lib, which Firebase can easily handle.
And just to keep things clean, let’s tell git to ignore the dist folder, by editing projects/functions/.gitignore and adding these lines:
# Compiled shared resources
dist/
Now we are ready to actually consume the library from inside our Firebase Cloud Functions project. Open projects/functions/src/index.ts and replace its content with this:
import * as functions from "firebase-functions";
import { foo } from 'my-lib'; // Once more, it's super important this will point to the module and not the relative path. Make sure your IDE does this for you.

export const helloWorld = functions.https.onRequest(
  (request, response) => {
    const value = foo();
    functions.logger.info("Hello logs!", {structuredData: true});
    response.send("Hello from Firebase!" + value);
  });
Let’s see it in action. make sure you’re in the functions folder and run npm run serve. This should start Firebase emulator suite:
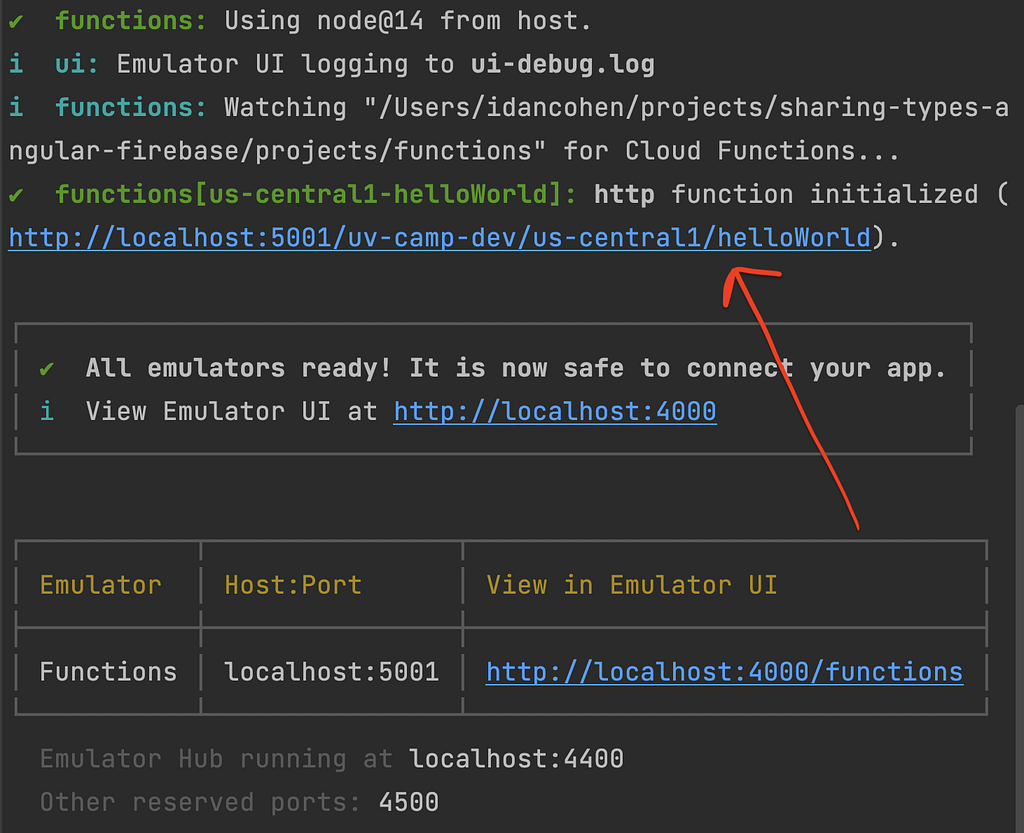
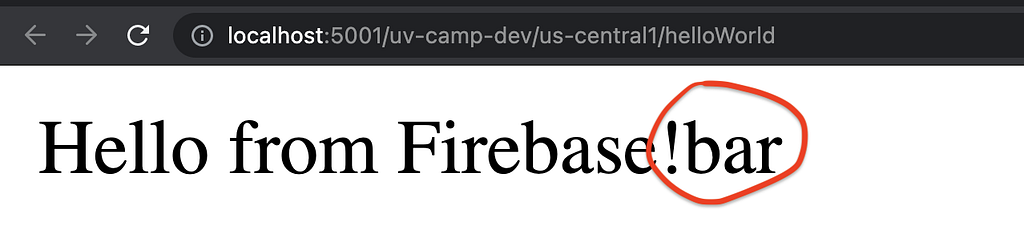
And if all worked well 🤞 you should be able to call the helloWorld function via your local endpoint and see this -
Problems? Compare your code with the demo project
And to close things off with a bang, run firebase deploy from anywhere in the project, and you can now access your new cloud functions in production from anywhere in the world -

Get yourself a candy, you’ve earned it! 🍭 And now, let’s wrap things up with some additions to make our lives a bit easier.
Auto Refreshing the Local Server
Assuming you have followed this guide so far, these next steps should be a breeze. First and foremost we need to watch the most common dependency, the one all other projects depend on, which in our case is my-lib. Go to the root of your workspace and run:
npm run build:my-lib -- --watch
The extra -- tells npm to pass these params to the script
Now every change inside my-lib will automatically trigger a rebuild of the library.
Next, no surprises here, let’s run the Angular app (make sure to do it in a separate terminal, so the library watch can keep running):
ng serve
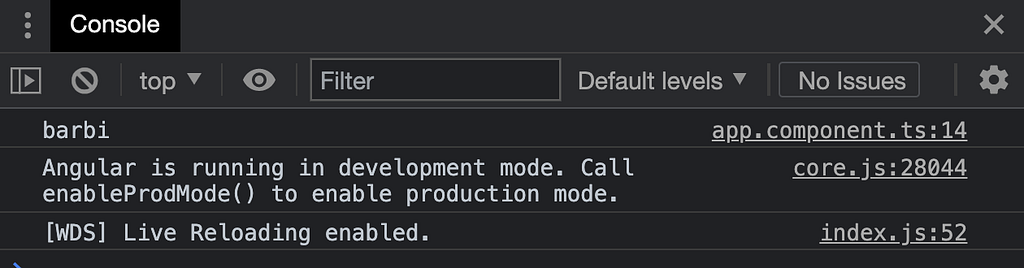
Opening http://localhost:4200/ and checking the console should yield the same bar we saw before. Now head over to projects/my-lib/index.ts and make this change:
export function foo() {
  return 'barbi';
}
Once these changes to the library are saved, it should trigger a rebuild of the Angular app as well. So without manually refreshing the browser, the console should now show something like this:
Next, in a NEW terminal window, switch to our functions folder and run:
npm run build -- --watch
And from yet another terminal (last one, I promise), inside the functions folder, run:
npm run serve
As before, the helloWorld local endpoint should be printed out in the terminal. Open it in a browser, and most likely you’ll see this:
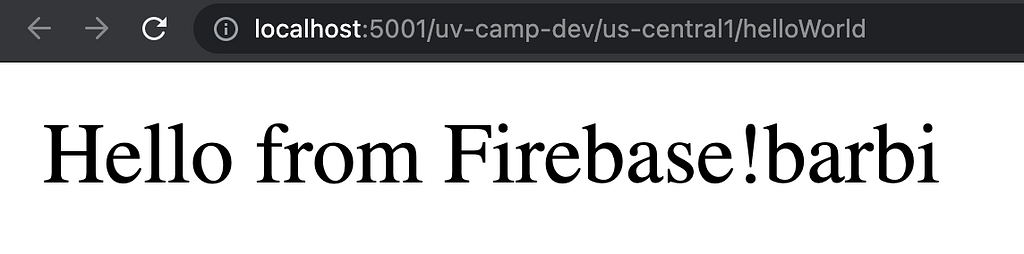
Now change the foo() function again, wait a few seconds and refresh the cloud function page. If you see the change, get up and do a little dance 💃, your environment is ready! You now have:
- A monorepo workspace, including an Angular app, Firebase Cloud Functions, and a shared library.
- Local development server with “propagating” auto-refresh.
- Full integration with Angular CLI and Firebase CLI.
Notice: In this demo, you’ve shared a function. The same would work just as well for classes or interfaces. Check out the repo for a working example.
This is our setup. Hope it works for you. We’re eagerly searching for better ways and practices, so feel free to share your take on this.